Have you ever tasted a perfectly creamy, flavor-packed cheese ball that left you craving more? Making your own cheese ball recipe at home is not only incredibly satisfying but also allows you to customize the flavors exactly to your liking. This versatile appetizer is perfect for holiday gatherings, game day snacking, or simply treating yourself to something special. When prepared with quality ingredients, a homemade appetizer like this provides fresher flavors and fewer preservatives than store-bought versions.
Ingredients & Kitchen Tools
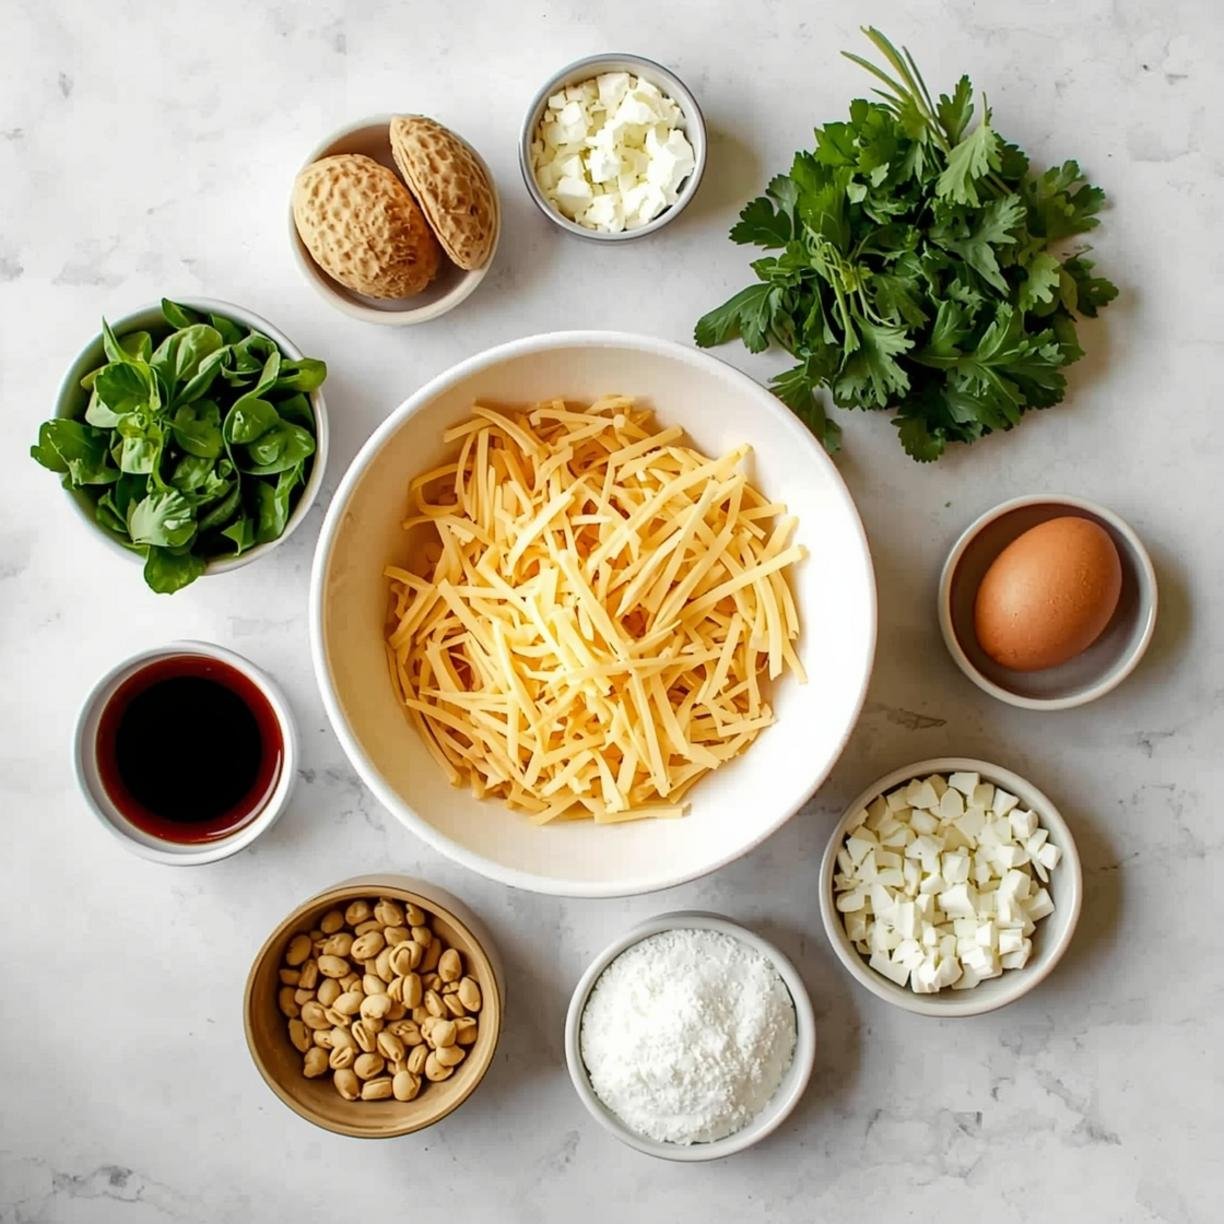
For the base:
– 16 oz cream cheese, softened to room temperature
– 2 cups shredded sharp cheddar cheese
– 1 tablespoon Worcestershire sauce
– 1 teaspoon garlic powder
– 1 teaspoon onion powder
– ¼ teaspoon cayenne pepper (adjust to taste)
– Salt and freshly ground black pepper to taste
For the coating:
– 1 cup chopped pecans or walnuts
– ¼ cup finely chopped fresh parsley
– 2 tablespoons finely chopped chives (optional)
Kitchen tools needed:
– Large mixing bowl
– Electric mixer (or strong arm for hand mixing)
– Plastic wrap
– Measuring cups and spoons
– Cutting board and knife for chopping
– Serving platter
Preparation & Cooking Time

– Preparation time: 15 minutes
– Chilling time: 2 hours minimum (overnight preferred)
– Total time: 2 hours 15 minutes (plus overnight chilling for best results)
This recipe is beginner-friendly but looks impressively elegant, making it perfect for holiday entertaining. You can prepare it a day ahead, which makes it an excellent stress-free party option.
Step-by-Step Instructions

1. Soften the cream cheese: Remove cream cheese from refrigeration at least 30 minutes before starting. This ensures it mixes smoothly without lumps.
2. Mix the base ingredients: In a large bowl, combine softened cream cheese and shredded cheddar cheese. Beat with an electric mixer until well blended.
3. Add flavoring: Mix in Worcestershire sauce, garlic powder, onion powder, cayenne pepper, salt, and black pepper. Pro tip: Add seasonings gradually and taste as you go to achieve your perfect flavor balance.
4. Form the ball: Transfer the cheese mixture onto a piece of plastic wrap. Use the plastic wrap to help shape the mixture into a ball. The plastic prevents the cheese from sticking to your hands.
5. Chill: Wrap the cheese ball tightly and refrigerate for at least 2 hours. For the best cheese ball recipe results, let it chill overnight to allow flavors to fully develop.
6. Prepare coating: Combine chopped nuts, parsley, and chives (if using) on a plate or shallow bowl.
7. Coat the ball: Remove the chilled cheese ball from the refrigerator, unwrap it, and roll it in the nut mixture, pressing gently to ensure the coating adheres.
8. Serve: Let the cheese ball sit at room temperature for about 15-20 minutes before serving with your favorite crackers or crudités for a perfect appetizer.
Nutritional Benefits / Advantages
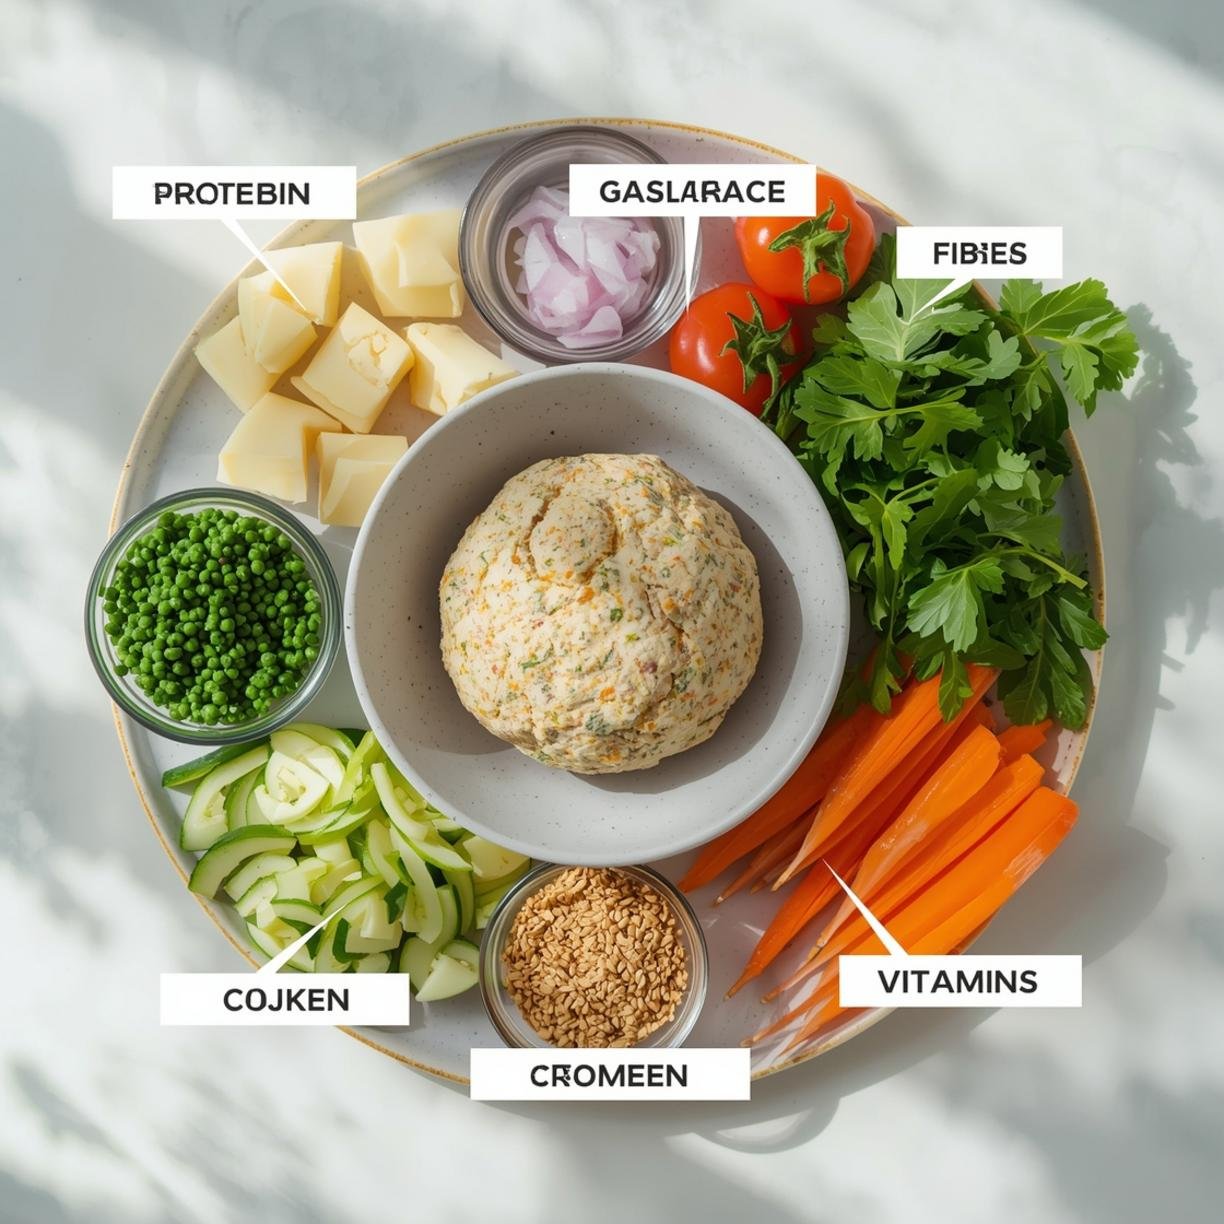
This cheese ball is rich in calcium from the cheese, providing excellent benefits for bone health. The nuts in the coating add healthy fats, protein, and a delightful crunch. When served with vegetable crudités instead of crackers, it becomes a lower-carb option that’s suitable for various dietary preferences.
Tips, Variations, or Cooking Advice
– Flavor variations: Try adding 2-3 tablespoons of blue cheese for a tangier version, or mix in ¼ cup crispy bacon bits for a savory twist.
– Herb options: Experiment with fresh herbs like dill, thyme, or rosemary for different flavor profiles.
– Spicy version: Add diced jalapeños or a dash of hot sauce for heat lovers.
– Dietary adaptations: Use dairy-free cream cheese and vegan cheddar for a plant-based version.
– Presentation ideas: Form into smaller, individual-sized balls for elegant single servings at dinner parties.
Common Mistakes to Avoid

1. Using cold cream cheese: This creates lumps. Always ensure cream cheese is properly softened.
2. Under-seasoning: Cheese balls need adequate seasoning as cold temperatures dull flavors. Season generously.
3. Skipping the chill time: This crucial step allows flavors to meld and makes shaping easier.
4. Using pre-shredded cheese: These contain anti-caking agents that can affect texture. Grate your own for the creamiest results.
Storage & Reheating Tips
Store your cheese ball in the refrigerator, tightly wrapped in plastic wrap. It will keep well for up to one week. If you’ve already added the nut coating, it’s best consumed within 3-4 days as the nuts may soften. For longer storage, freeze the cheese mixture without the coating for up to one month. Thaw overnight in the refrigerator before coating and serving.
Conclusion
Creating your own cheese ball recipe at home opens up endless possibilities for customization while ensuring you’re serving a fresher, more flavorful appetizer than anything store-bought. With just a few simple ingredients and minimal hands-on time, you’ll have an impressive dish that’s sure to be the star of your next gathering. Whether you stick to this classic version or experiment with your own flavor combinations, the principles remain the same—good cheese, complementary seasonings, and a little patience for chilling.
FAQs
Can I make this cheese ball ahead of time?
Yes! It’s actually better when made 1-2 days in advance as the flavors develop more fully.
What can I use instead of nuts for the coating?
Try dried cranberries, chopped dried apricots, everything bagel seasoning, or finely chopped fresh herbs.
My cheese mixture is too soft to form a ball. What should I do?
Refrigerate the mixture for 30-45 minutes to firm it up before attempting to shape it again.
Can I freeze a cheese ball?
Yes, but freeze without the coating. Wrap tightly in plastic wrap and then foil, freeze for up to 1 month, and thaw in the refrigerator before coating.
What’s the best way to serve a cheese ball?
Arrange it on a board with various crackers, sliced baguette, apple slices, and grapes for a beautiful presentation.